Photopolymer
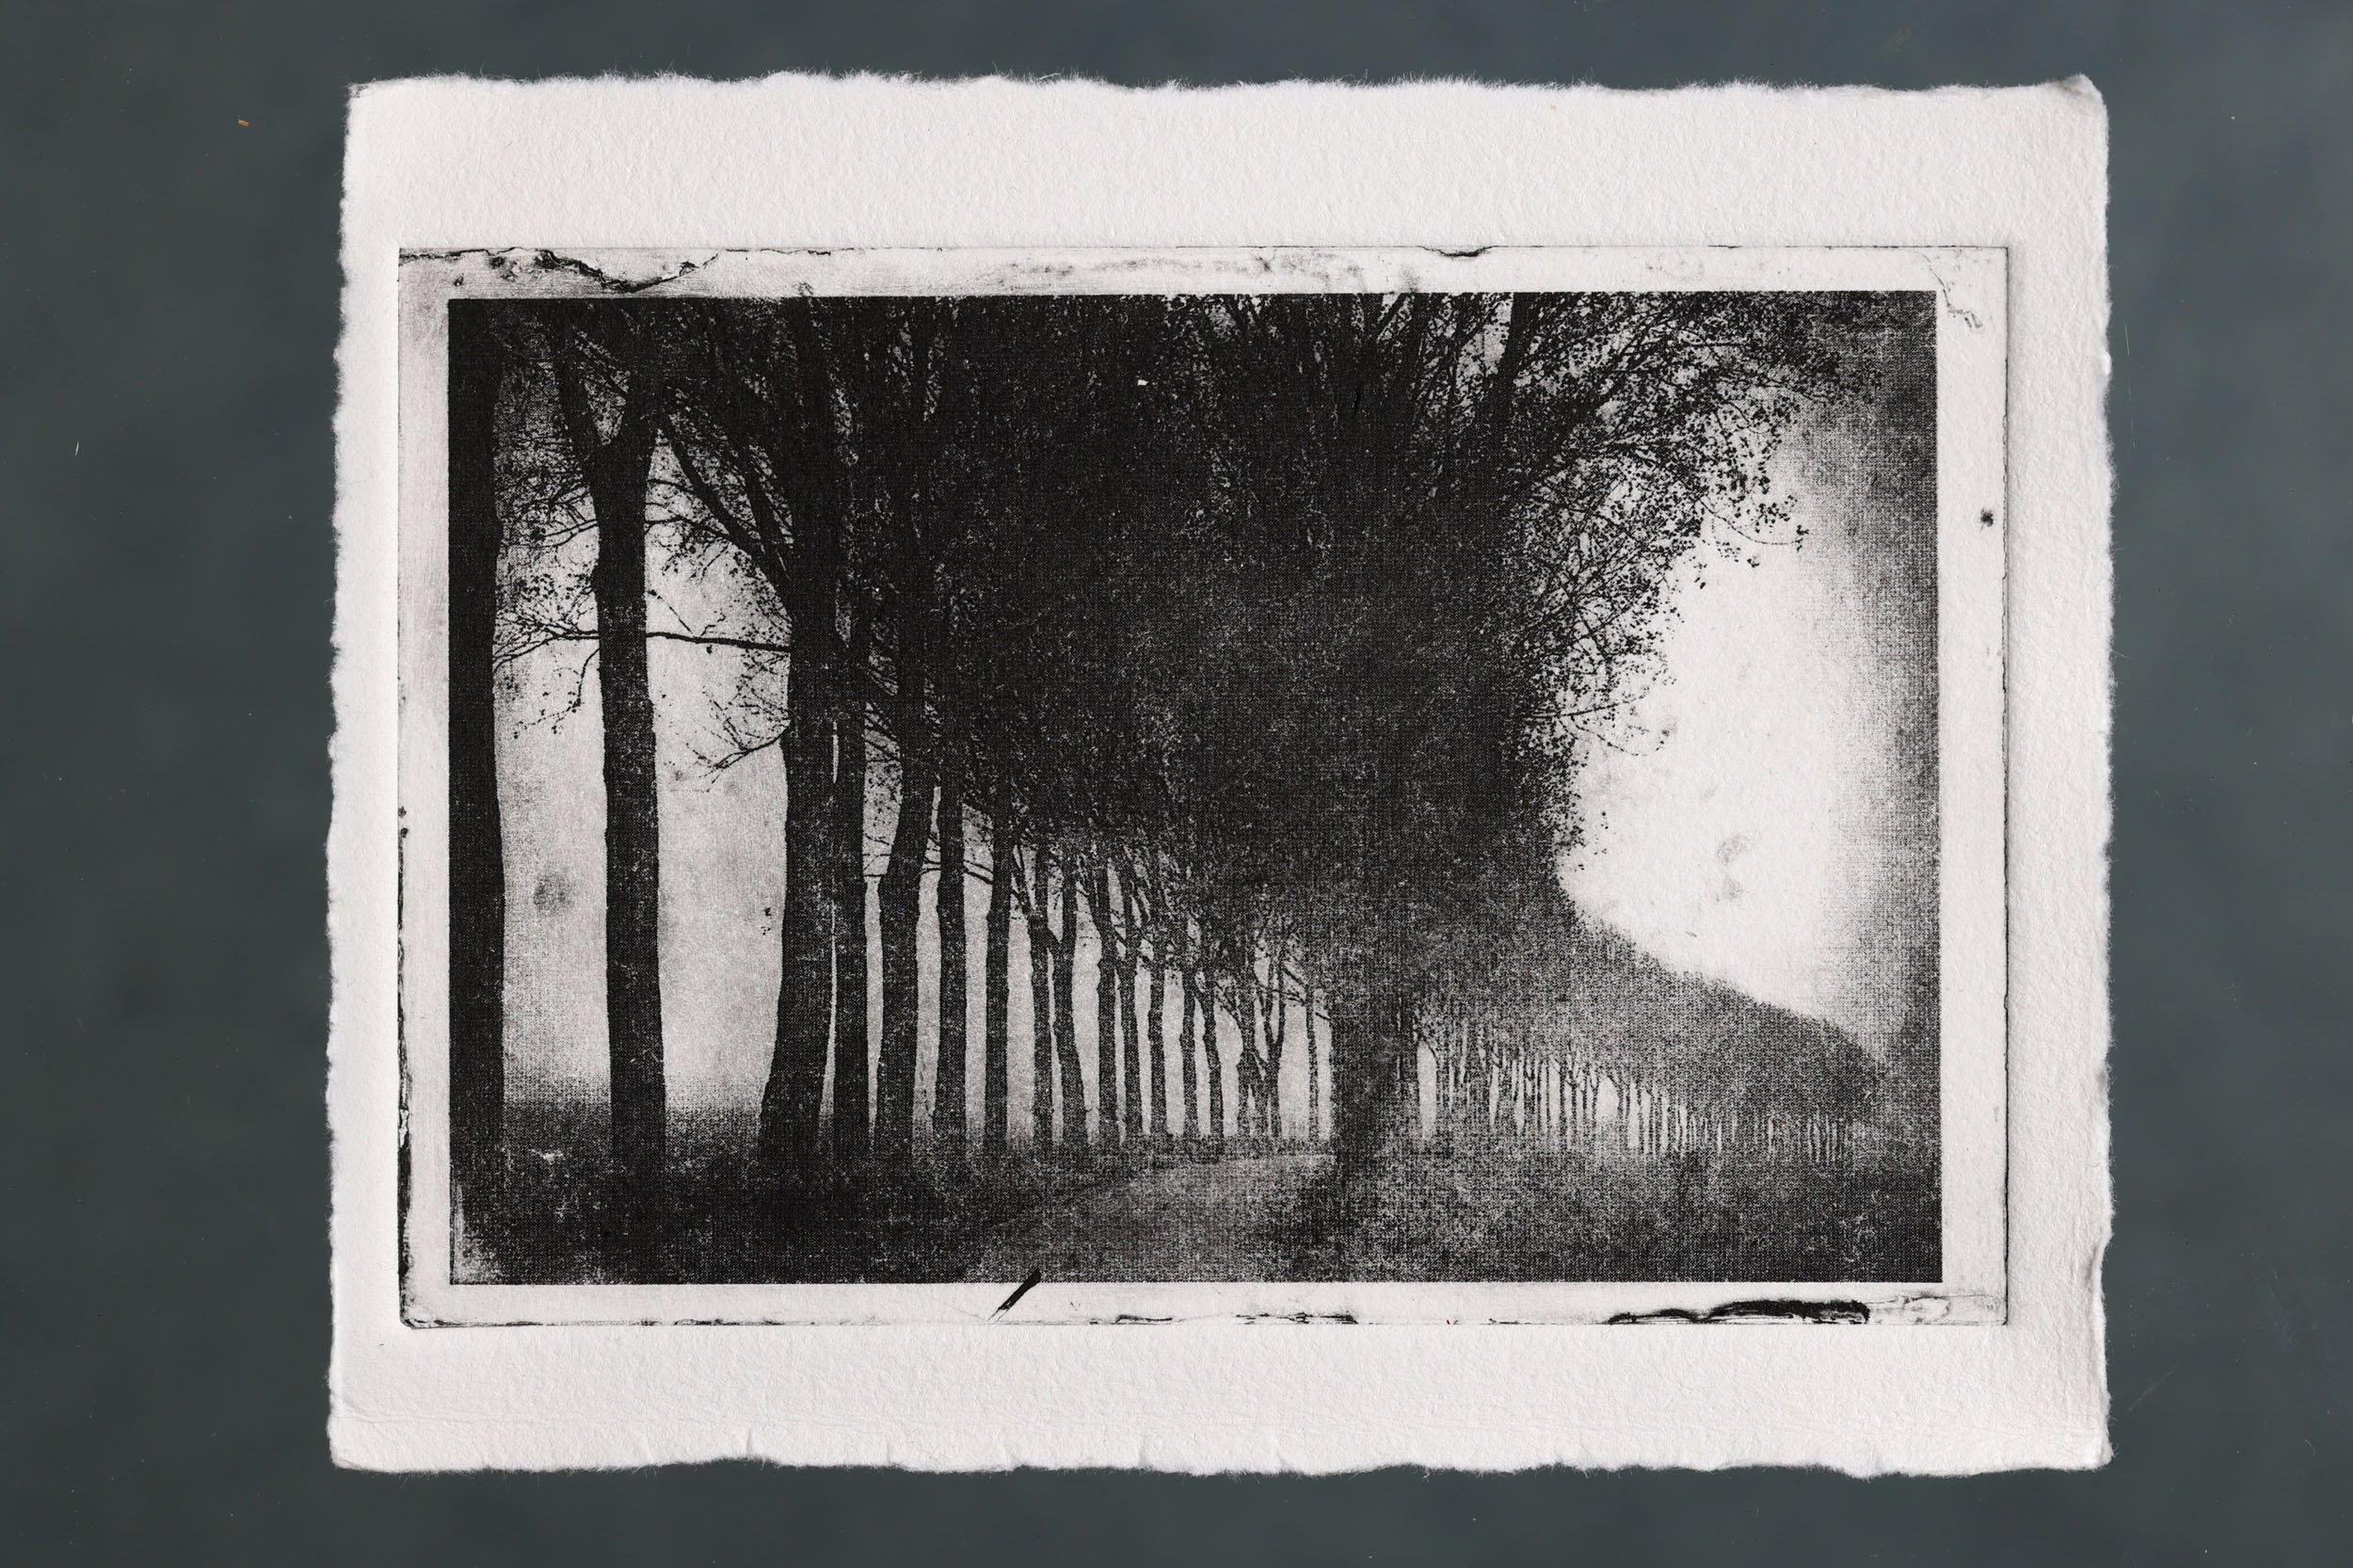
The final etching print
Since early November I have been taking a photography and etching course at Vrijdag in Groningen, taught by Pol Taverne. Over the past weeks, she has taught me the photopolymer etching technique, which makes it possible to turn a photograph into an etching. At the same time, I have been busy gathering all the necessary materials so that I could continue working with the technique in my own studio.
What followed was a search for the right values in terms of curves and exposure. After making all the beginner’s mistakes—more than once—I now feel I am finally on the right track. It is quite a delicate technique, involving a substantial number of steps, each of which requires careful practice.
In short:
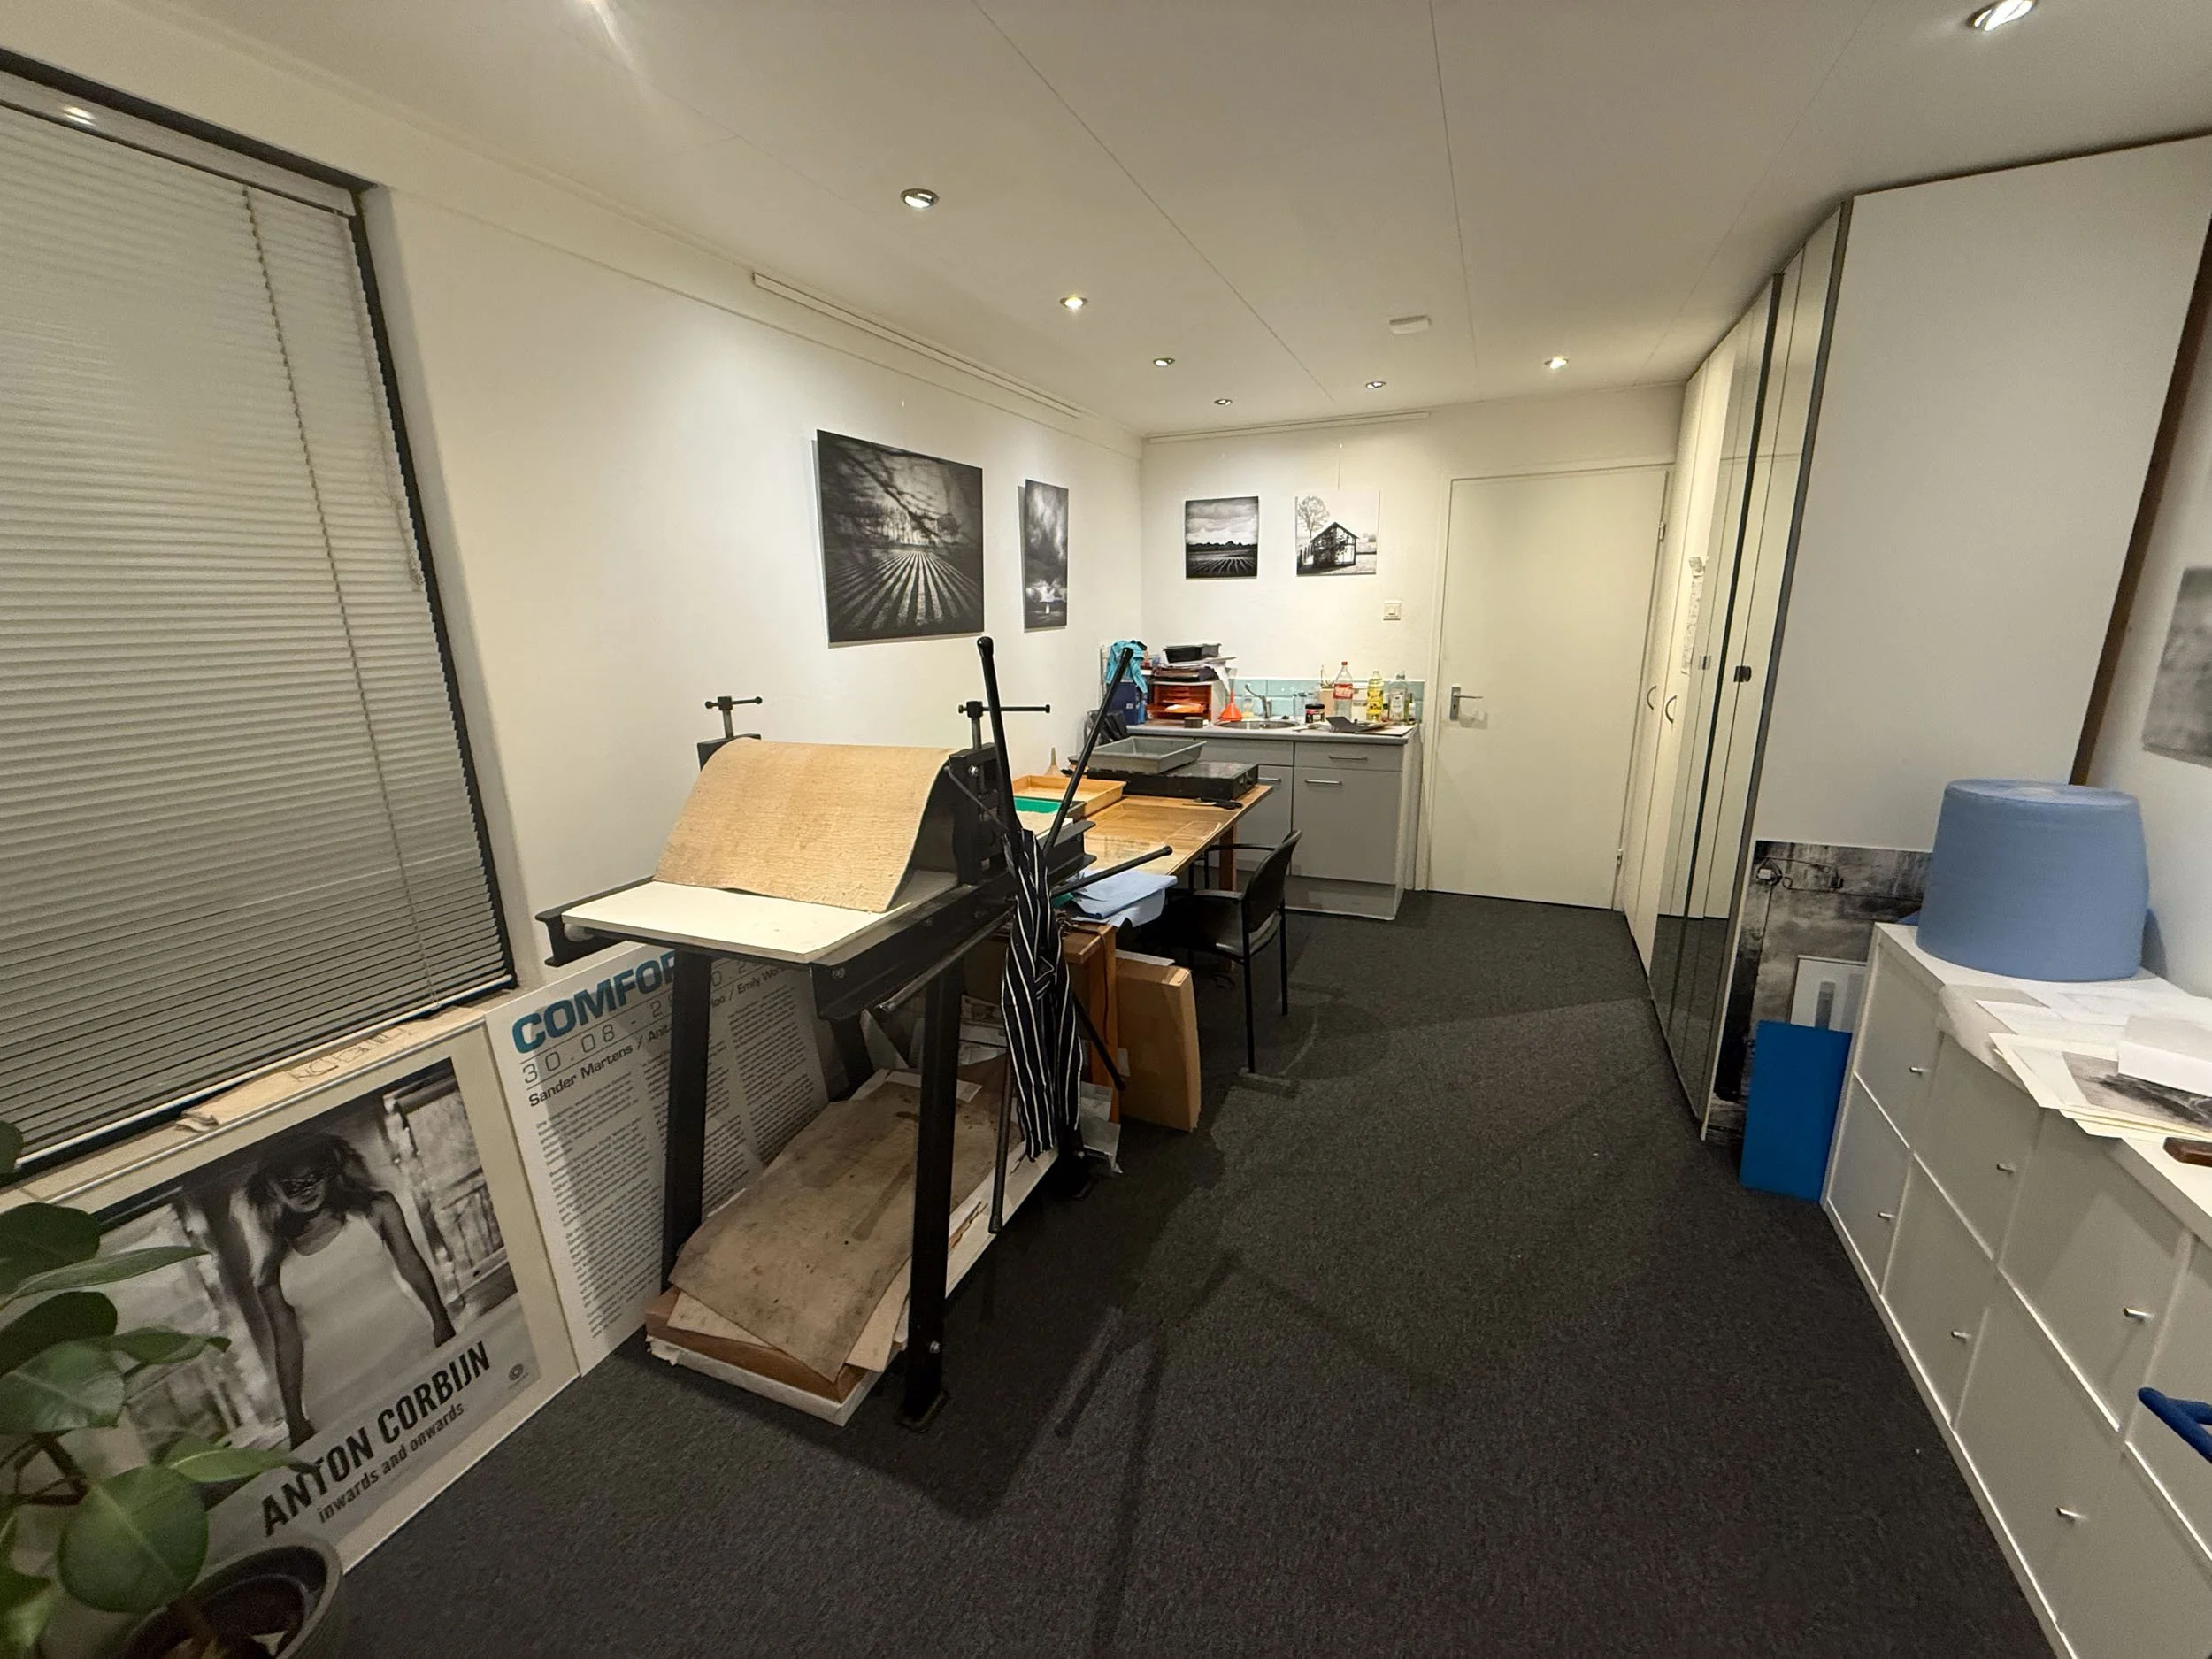
My dedicated etching studio
Step 1: Editing the photograph in such a way that it is suitable for a) printing onto a transfer sheet b) light exposure.
Step 2: Applying a thin layer of light-sensitive material to a zinc plate—the same type of material used in the production of computer chips.
Step 3: Allowing the laminated plate to dry thoroughly, after which it is exposed together with the printed sheet for exactly 28 seconds under a UV lamp.
Step 4: Developing the plate using a soda ash solution during 2.5 minutes, rinsing, drying, and hardening it with an additional 15 minutes of UV exposure.
Step 5: Inking the plate, carefully wiping it back, and printing it using an etching press. Et voilà!
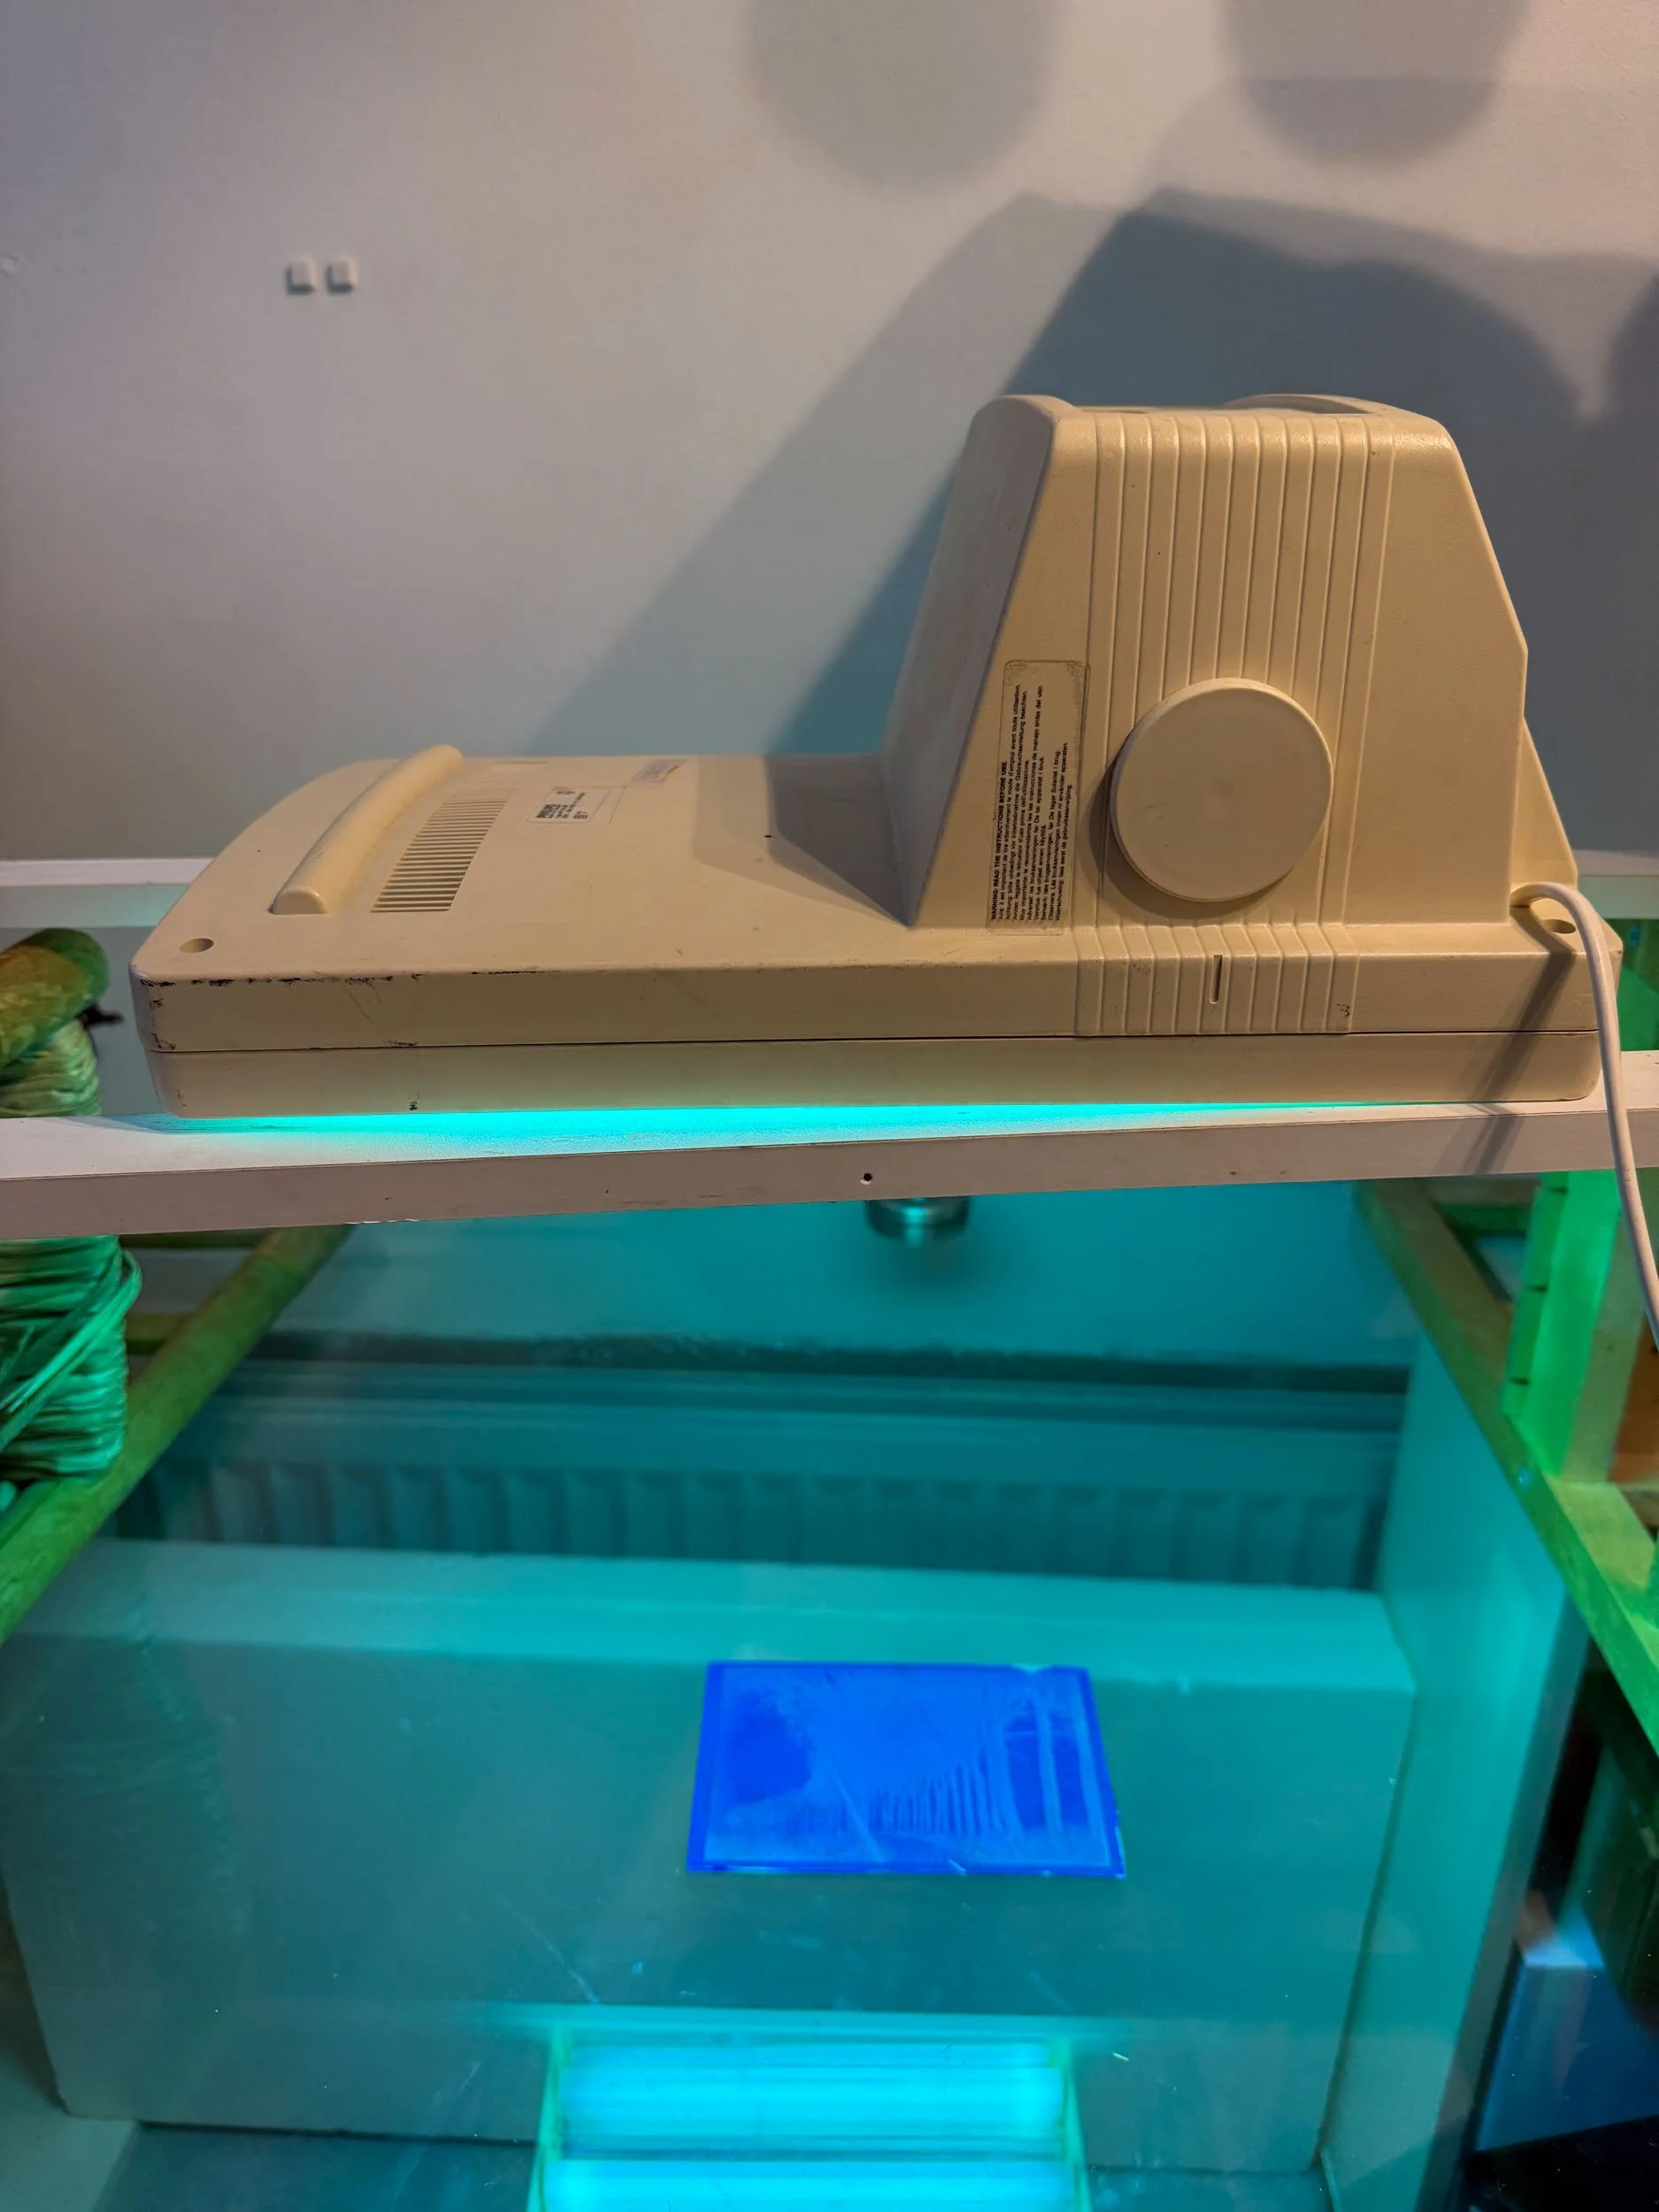
The exposure process of exactly 28 seconds
Sinds begin november volg ik bij Vrijdag in Groningen een cursus fotografie en etsen, gegeven door Pol Taverne. In de afgelopen weken heb ik van haar de fotopolymeer ets-techniek geleerd om van een foto een ets te kunnen maken. Tevens ben ik druk geweest om alle materialen te verzamelen, zodat ik in mijn eigen atelier er verder mee aan de slag kon.
Vervolgens was het een zoektocht om de juiste waardes qua curves en belichting te ontdekken. Nadat ik alle beginnersfouten nogmaals had gemaakt, denk ik inmiddels toch aardig op de goede weg te zitten. Het is best een delicate techniek, met behoorlijk wat stappen die elk de nodige oefening vereisen.
In het kort:
Stap 1: de foto dusdanig bewerken dat deze geschikt is om a) op een transfer sheet te printen b) met uv-licht te belichten.
Stap 2: een laagje lichtgevoelig materiaal aanbrengen op een zinkplaatje - hetzelfde als wat gebruikt wordt voor de productie van computerchips.
Stap 3: Het gelamineerde plaatje flink laten drogen, waarna het samen met de bedrukte sheet gedurende 28 seconden belicht wordt met een uv-lamp.
Stap 4: Ontwikkelen met een soda-ash oplossing gedurende 2½ minuut, spoelen, drogen, uitharden met nogmaals 15 minuten uv-belichting.
Stap 5: in inkten, voorzichtig afslaan, en afdrukken met een etspers. Et voilà!